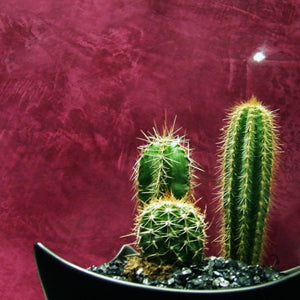
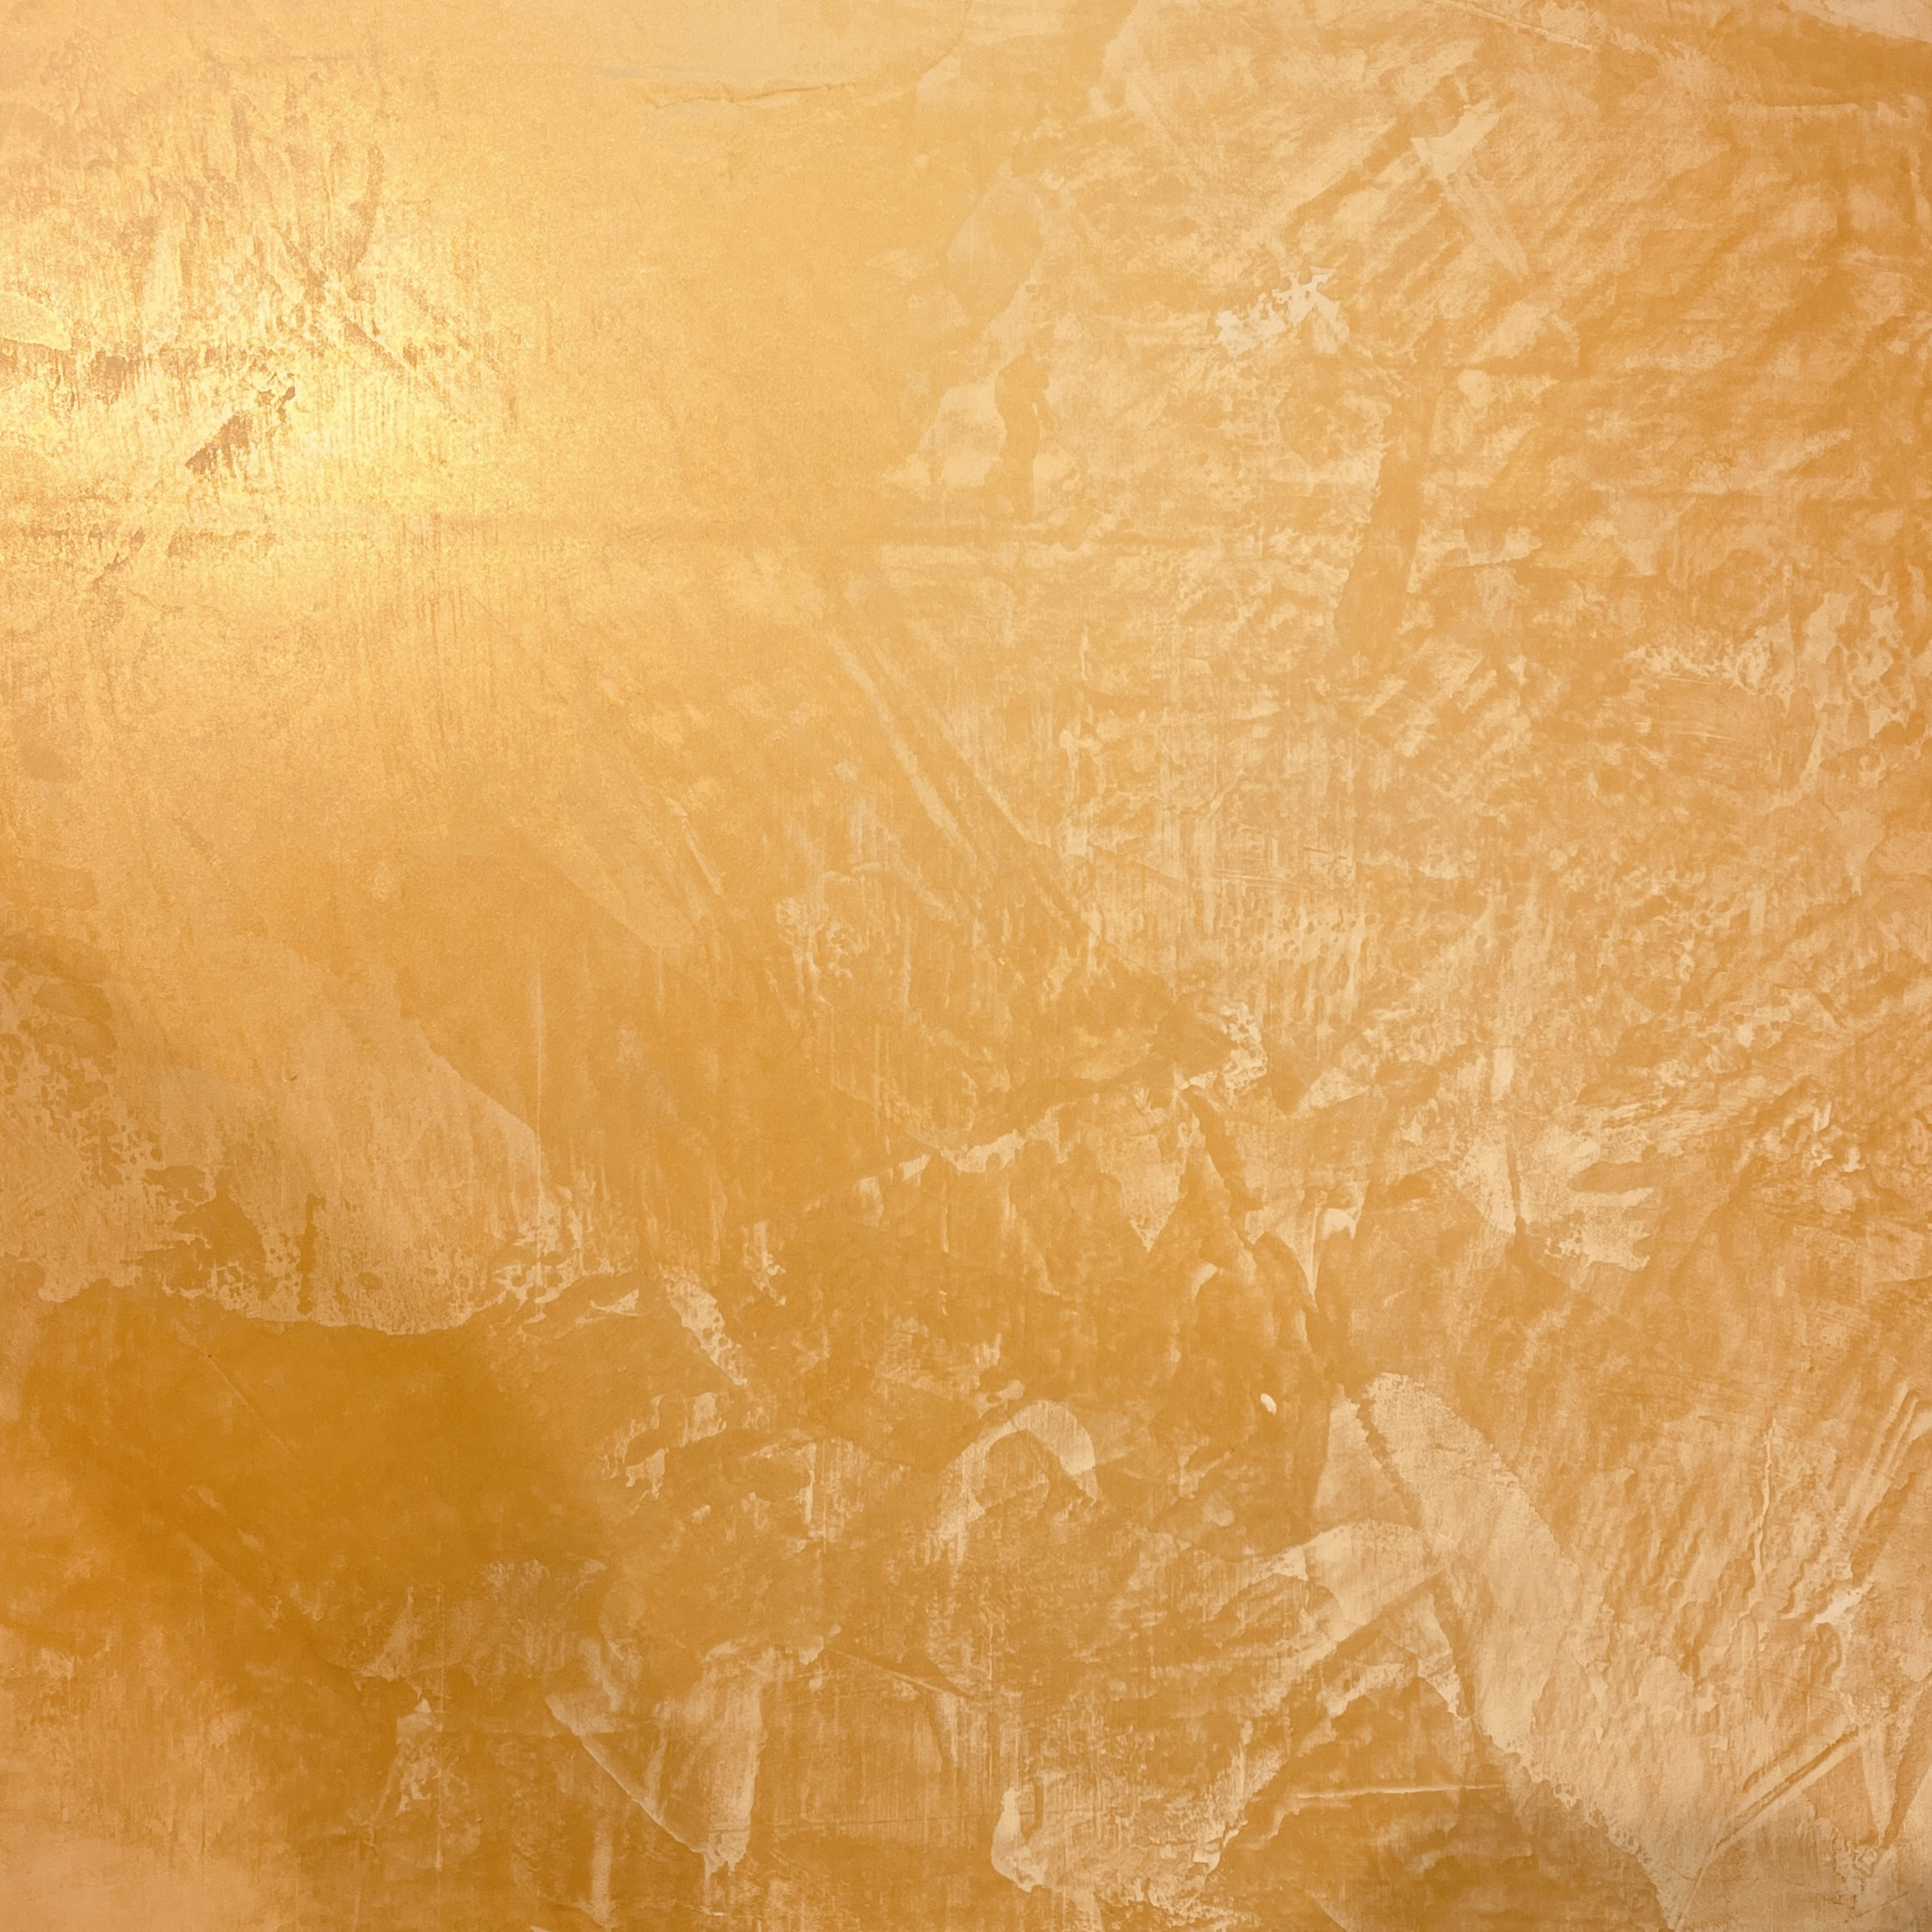
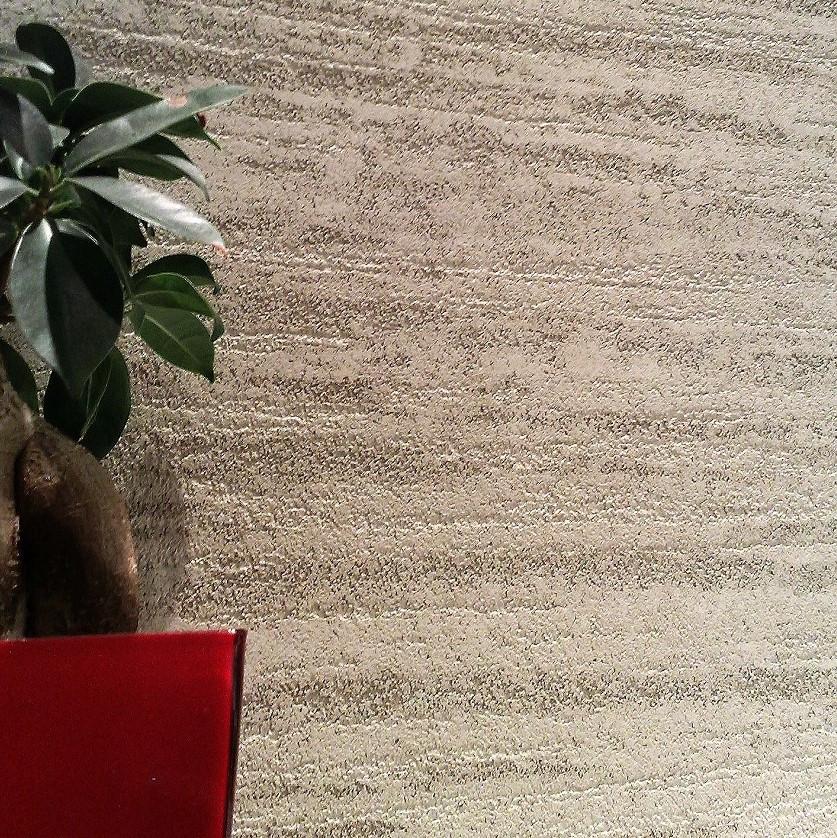
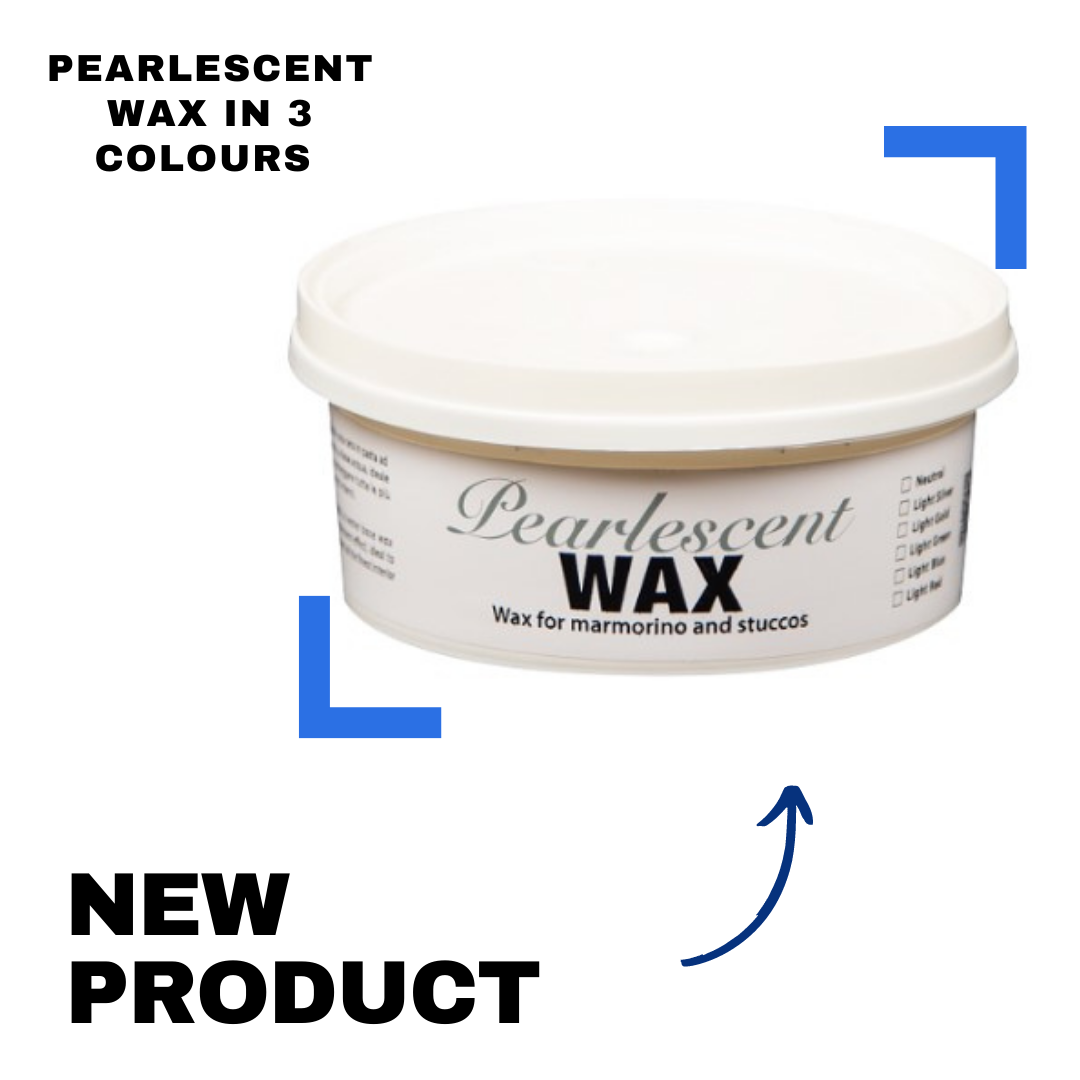
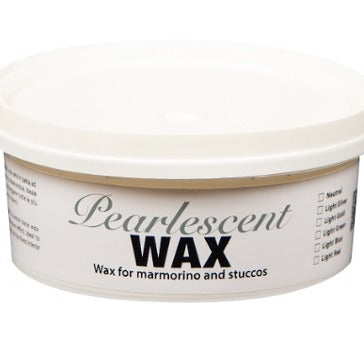
Decorative wax with light silver, light gold, light bronze, and pearlescent effect, composed of natural bee’s wax, acts as a decoration and protection for all types of surfaces to give a subtle iridescent finish.
Recommend use:
Silver over neutral colours. Gold over warm colours. Bronze over warm and red tones.
With all liquid products, we recommend using safety eyewear and gloves.
Composition:
Beeswax, pure Marseille soap, pearlescent pigments and special additives.
Yield:
1lt x 1 or 2 coats 15 to 25 m2 depending on surface texture.
Application:
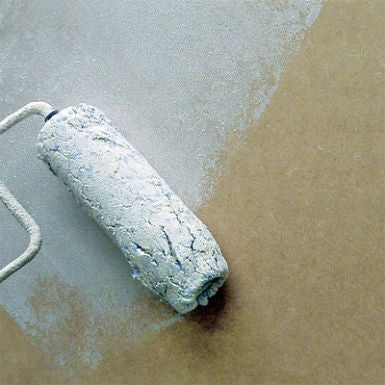
• Application with sponge, pads, lint-free cloth or paintbrush, depending on surface and desired look.
• Apply one or more coats according to the desired effect.
•Ready to use, stir with care.
• Let plaster surface dry for at least 24 hours before application
• Apply the wax using a sponge in an area size of about 1 m2 per time until the surface no longer absorbs the wax. Remove the excess of wax from the surface.
• The product can be applied using different tools: sponge, pad, lint-free cloth, and paintbrush, according to the decorative effect. Remove with a clean cloth excess wax.
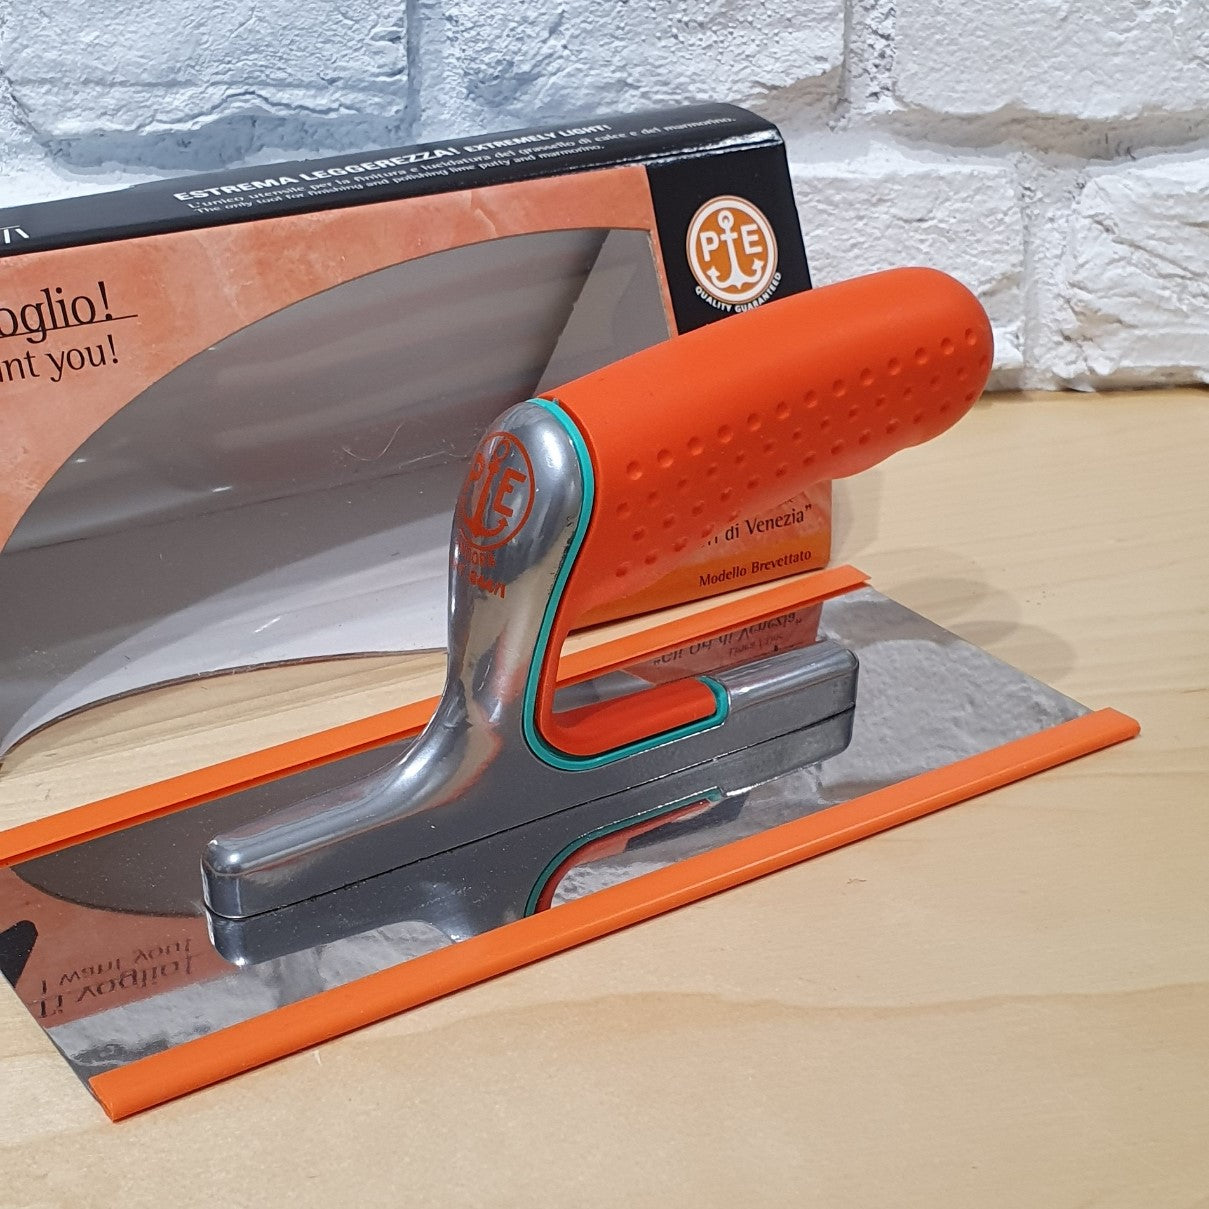
• After about 30 min, and not more than 2 hours, proceed to polish with clean lint-free cloths or a mechanical polishing machine with wool pads.
• Temperature of application 5° - 35°C
Typically all orders are shipped out with APC next day service except weekends.