


Lucidato 014 Polished Plaster
Description
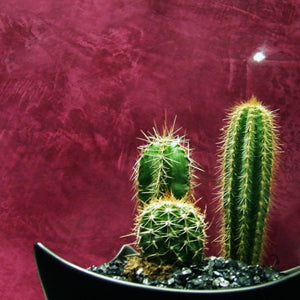
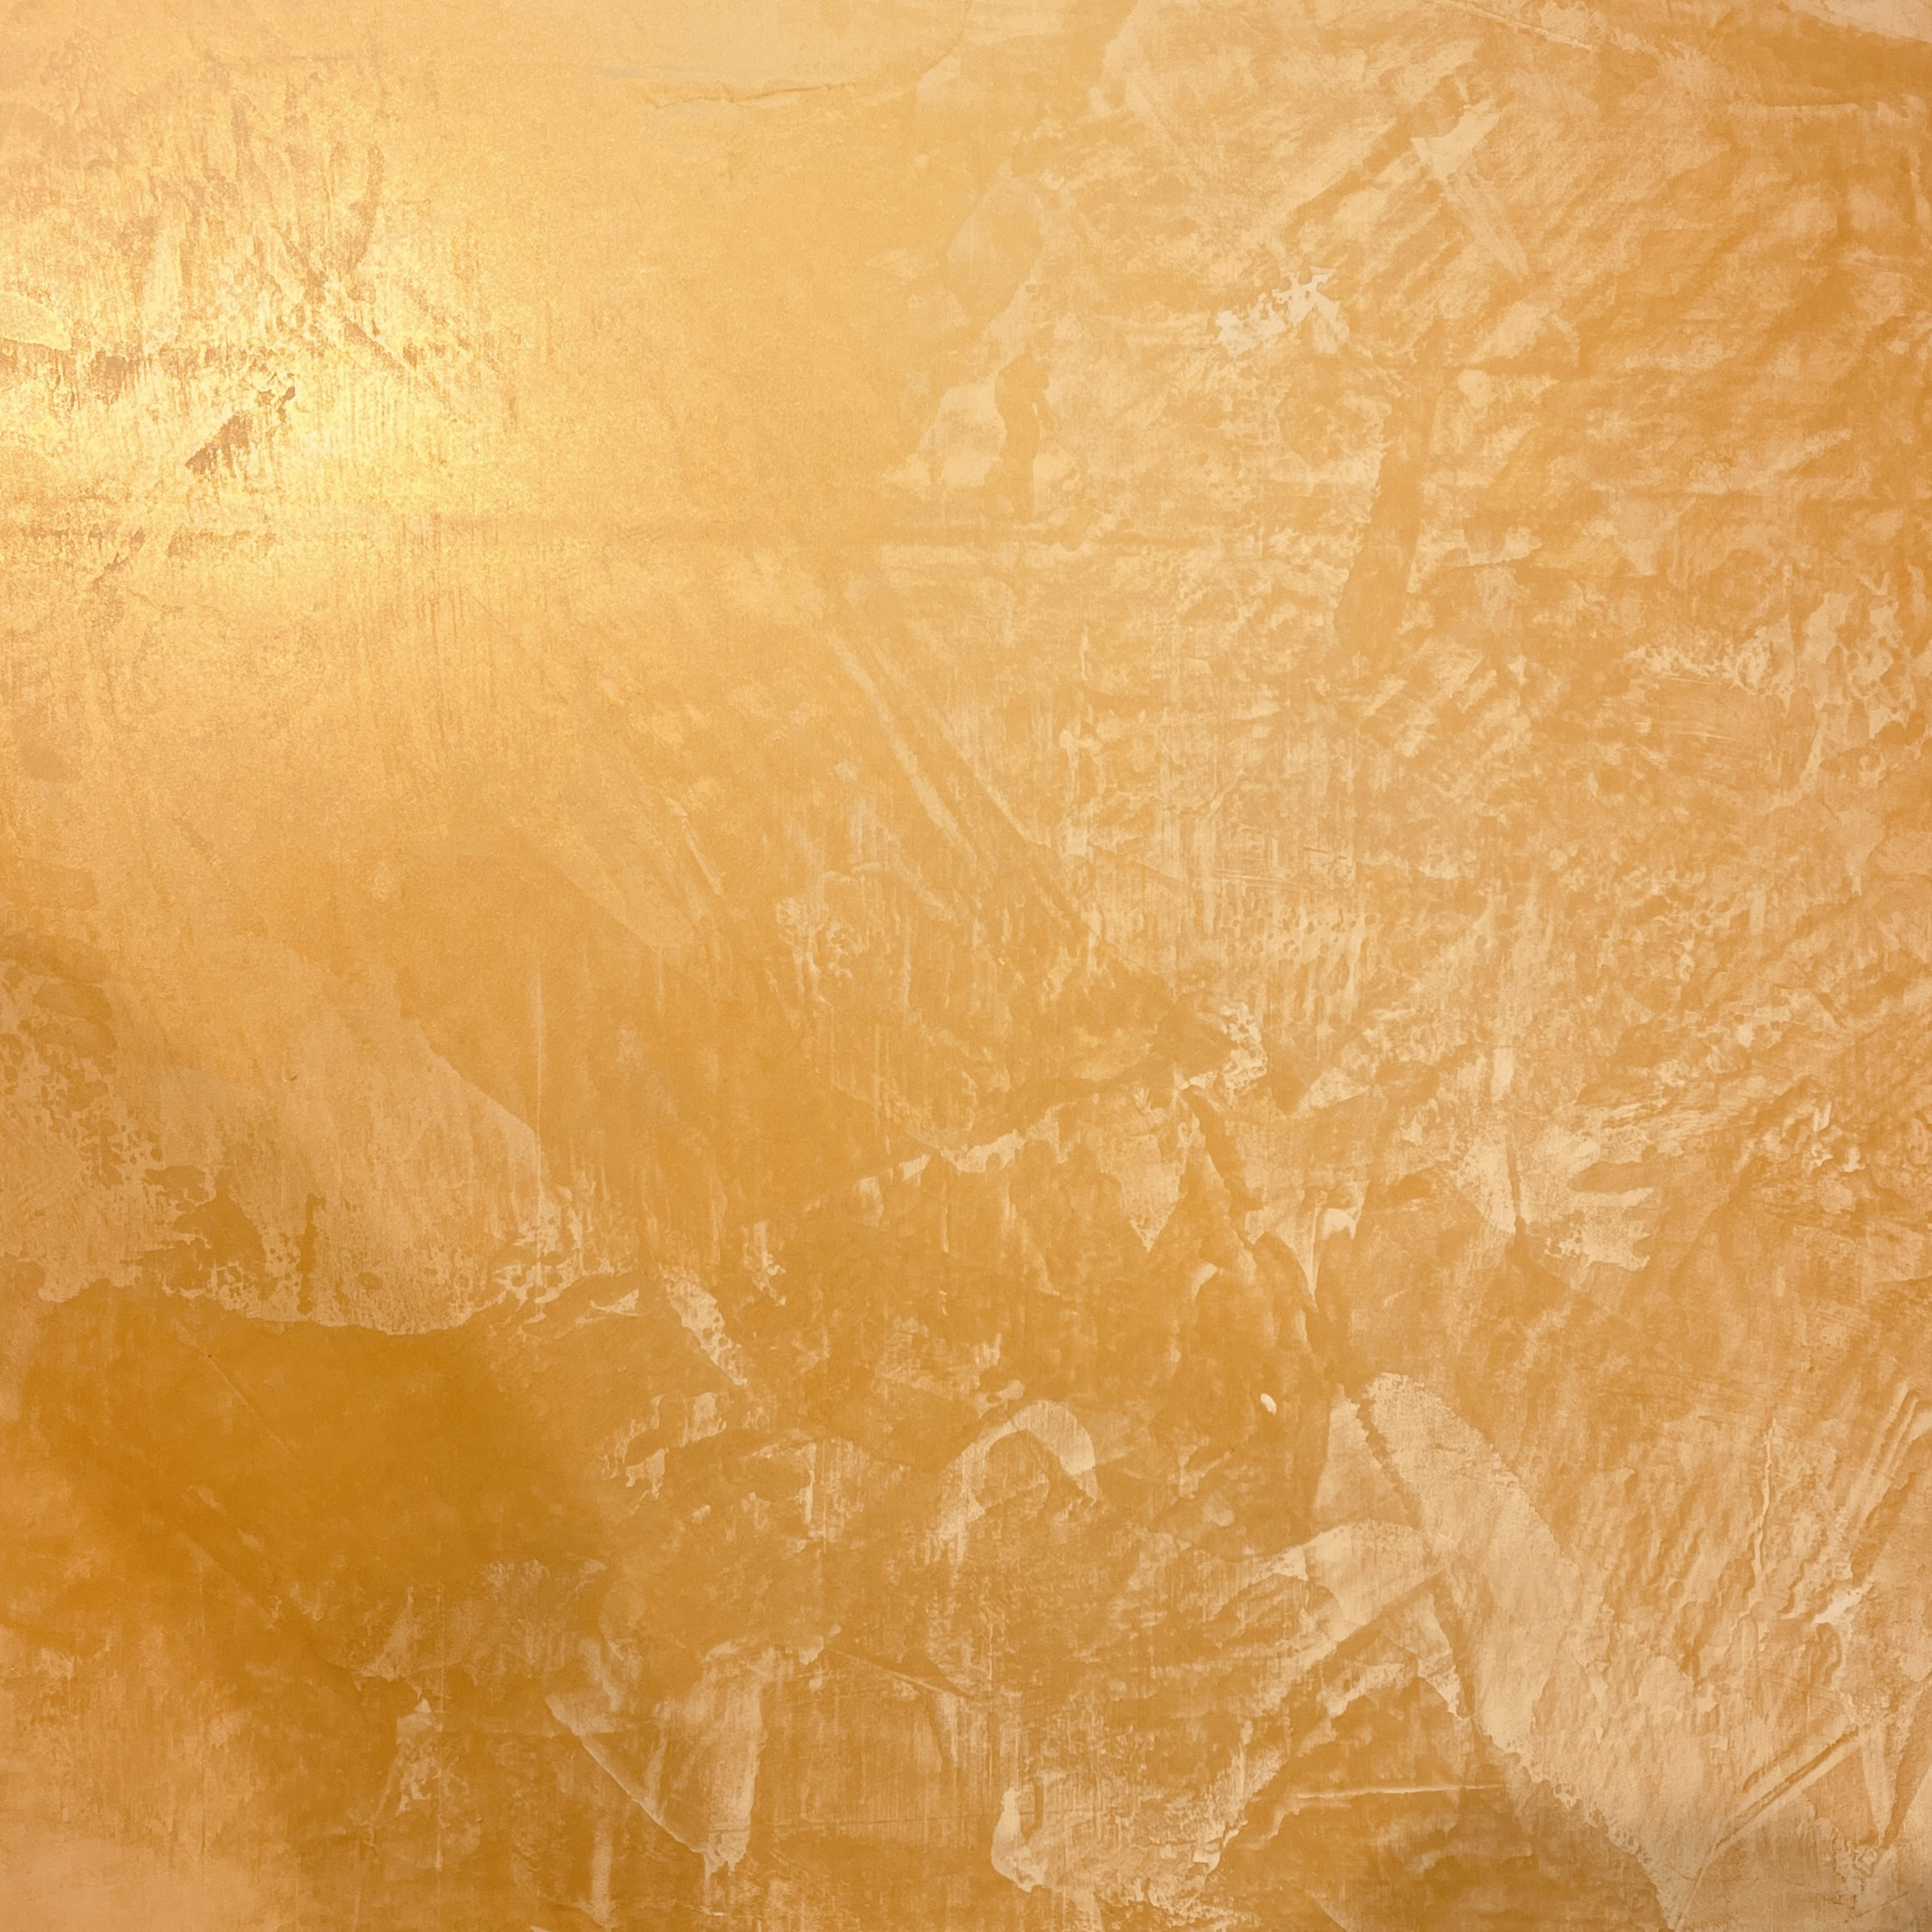
Lucidato Polished Plaster has the "WOW" factor.
Smooth to the touch with a luxurious high glassy finish, this plaster is truly amazing.
An outstanding product with a unique look that will make your walls stand out.
Smooth to the touch with a luxurious high glassy finish, this plaster is truly amazing.
The plaster can be left unwaxed, but we recommend waxing with Decor Wax or one of our other waxes to protect the surface from everyday dirt.
The wax helps keep the surface clean and free of wear and tear, while still allowing you to showcase the beauty of the plaster.
We always recommend ordering a 1kg pot before ordering a large amount. For first-time customers or to make up a sample, the 1kg pot is a great way to sample the product.
Application
Download Our Application Guide Check out our videos
The application method of Polished Plaster typically involves the following steps:
Surface preparation: The surface to be treated with polished plaster should be clean, dry, and free from any loose or flaking material. If necessary, repair any cracks or imperfections and ensure the surface is smooth.
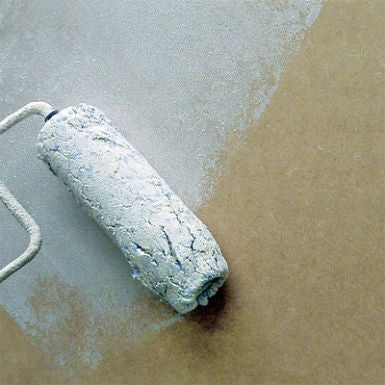
Primer application: Apply a coat of primer to the prepared surface with brush or roller. The primer helps with adhesion and ensures a smooth base for the Polished Plaster.
For Lucidato, you can 'knock back' the dry primer with a old trowel, scraper or sand paper to take out the high grains.
It is recommended to then the primer 10% if using over dry skimmed plaster.
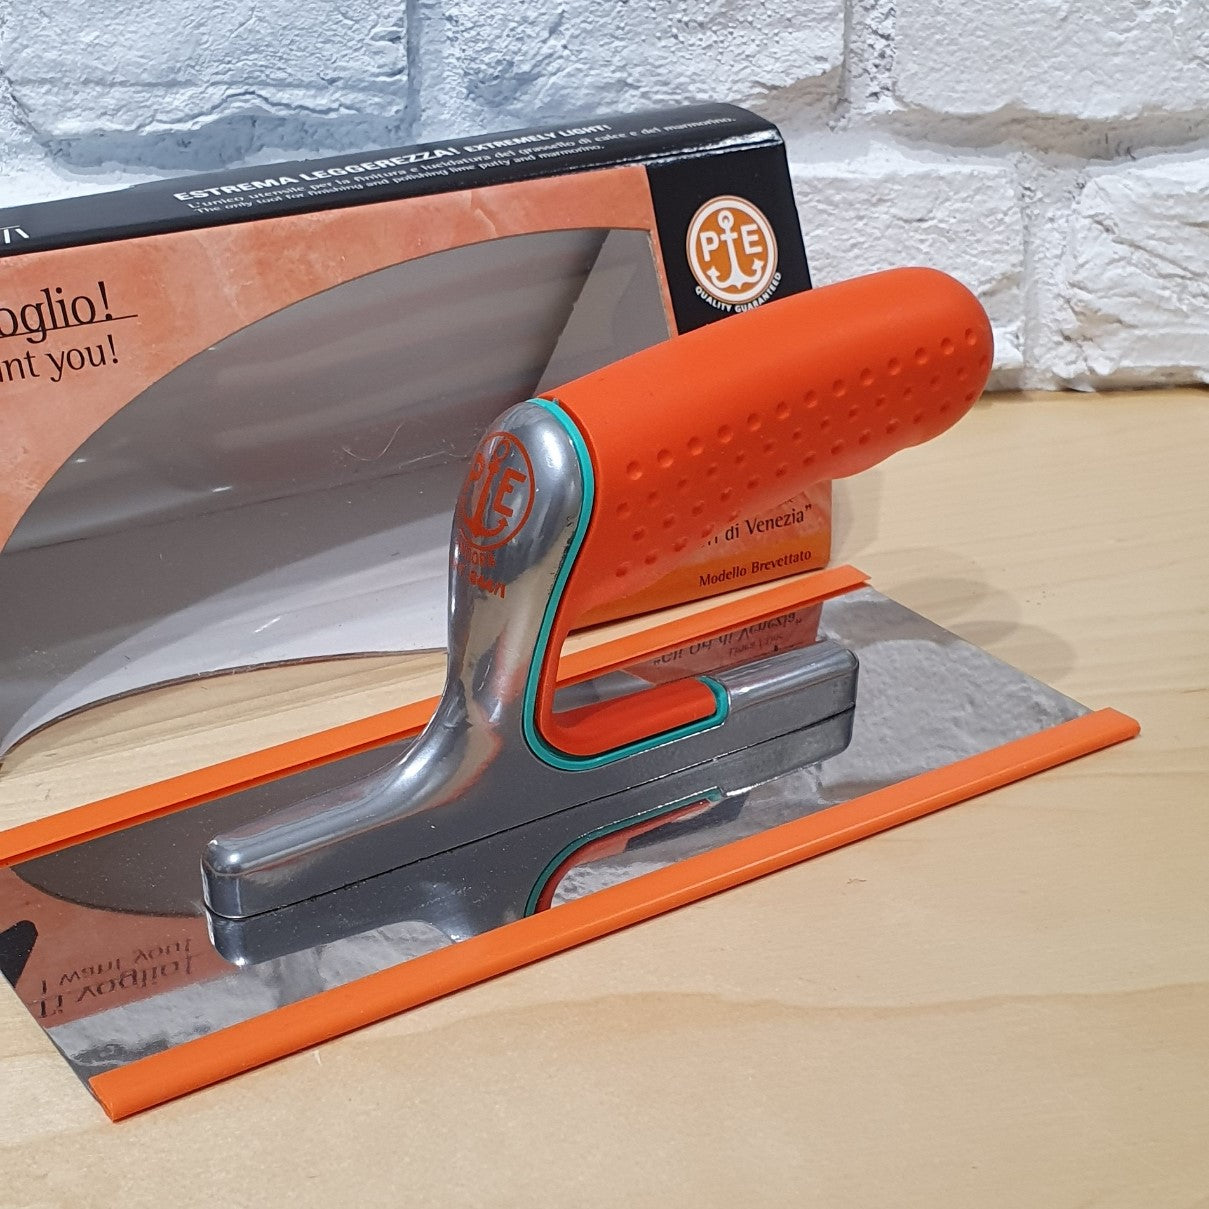
1st layer application: Once the primer has dried, apply a base coat of Polished Plaster with a specialist trowel over the dried primer.
Aim for a smooth application with no trowel lines, this layer doesn't have to be too thick, aim for 2 to 3 mm.
Trowel lines and other imperfections can be trowelled out when the plaster has dried to a 'putty state'. This coat is typically applied with a trowel in an even layer.
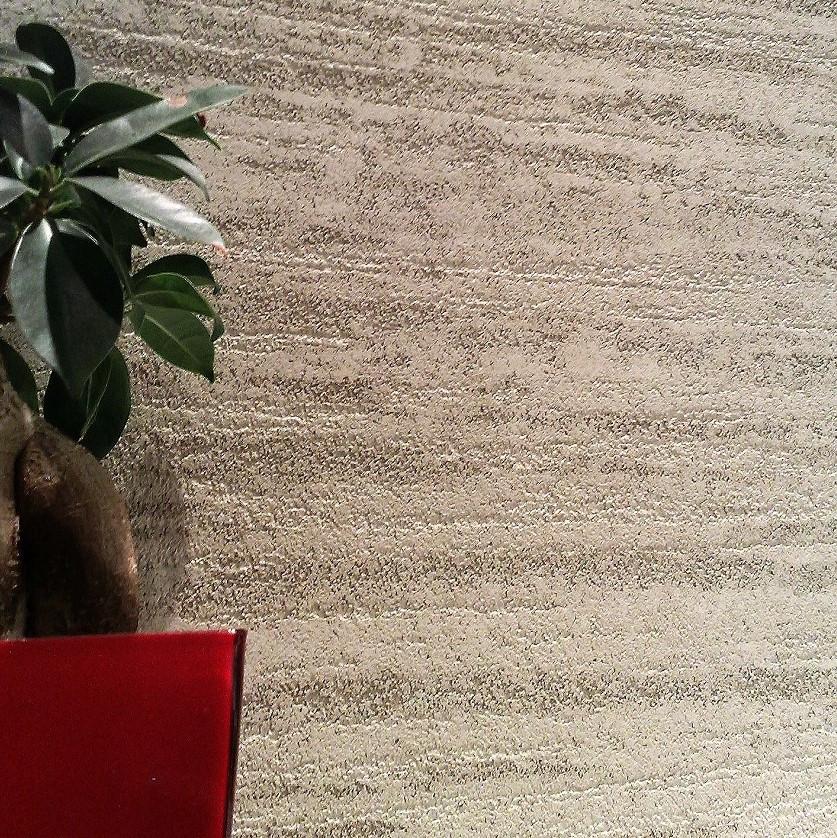
2nd layer application is where you start to create the pattern.
Apply in patches, overlapping one patch over the next patch by 50% applying patches in all directions.
Smooth down the plaster as you go to leave an even application of patches over the entire wall area.
Final layer application: Apply the final layer of Polished Plaster, following the same process as the 2nd layer coat patching in all directions and overlapping each patch by 50%. You now need to burnish this layer with a clean fault free blade.
Burnish, cut and smooth the damp plaster every one to two square feet, repeating this process as you apply over the wall.
Waxing: To protect the polished plaster and enhance its durability, it is recommended to apply a suitable wax. The wax helps to prevent staining and makes the surface easier to clean and maintain. Follow the manufacturer's instructions for the specific sealer being used.
It is important to note that the application method may vary depending on the specific product and manufacturer. Always refer to the manufacturer's instructions and guidelines for the best results. If unsure, it is advisable to consult with a professional who has experience working with polished plaster.
Important
Please remember that colours on screen may be differ from true plaster colour. The nature of Polished Plaster is the tonal effects during application. Polished Plaster provides a unique, multi-dimensional finish that reflects the hues and tones of the environment, creating a captivating finish.
Wet plaster will always look darker than the dried finish.
Different application methods can create darker/light finishes.
Colours are mixed to order an cannot be exchanged.
Each colour is custom-mix to your order details.
Typically all orders are shipped out with APC next day service except weekends.